Pothole repair is big business. With just a few pieces of equipment and a two man crew, your company can generate a very nice supplemental income making pothole repairs for local businesses and private residences. Some local governments sub contract this work to local contractors as well. Below are the basic steps for repairing a pothole.
How to repair a pothole:
1. With a pavement saw or pneumatic hammer, cut the outline of the patch, extending at least 0.3 m (I ft.) outside of the distressed area. The outline should be square or rectangular with two of the sides at right angles to the direction of traffic.

2. Excavate as much pavement as necessary to reach firm support. If a patch is to be an integral part of the pavement, its foundation must be as strong or stronger than that of the original roadway. This may mean that some of the sub-grade will also have to be removed. The faces of the excavation should be straight and vertical.
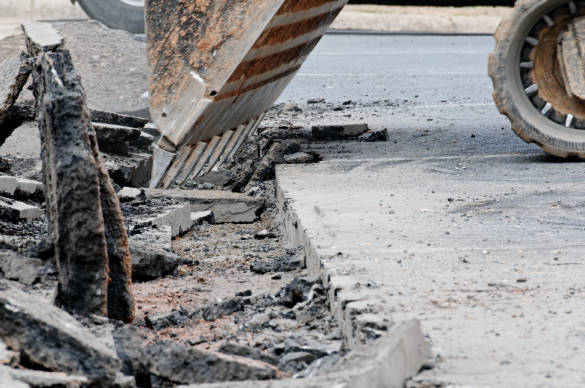
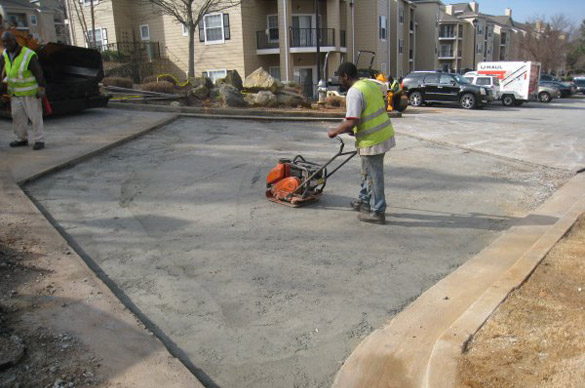
3. Trim and compact the sub-grade.
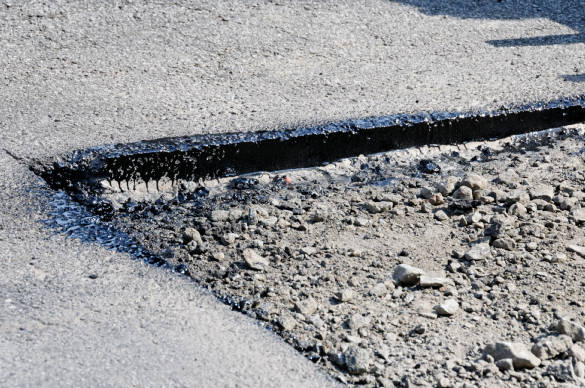
4. Apply a tack coat to the vertical faces of the excavation. SS-, SS-h, CSS, CSS-h, RS-, CRS- emulsified asphalts, or RC-70 cutback asphalt are all suitable.
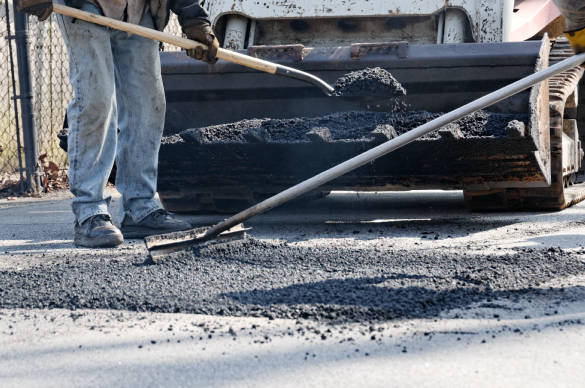
5. Backfill with the asphalt mixture. Using a shovel or skid steer loader place the mixture directly from the truck into the prepared excavation. The maximum lift thickness largely depends upon the type of asphalt mixture and the available compaction equipment. Asphalt concrete can and should be placed in deep lifts, since the greater heat retention of the thicker layers facilitates compaction. From a compaction standpoint, patches using asphalt concrete can be backfilled in one lift. However, when placing a patch that is deeper than 3 cm (5 in.) it is often useful to leave the first lift 2.5 to 5 cm (I to 2 in.) below the finished grade, making it easier to judge the total quantity of mixture required for the patch.
On the other hand, patches constructed with mixtures containing emulsified or cutback asphalt must be placed in layers thin enough to permit evaporation of the diluents that make the mixture workable.
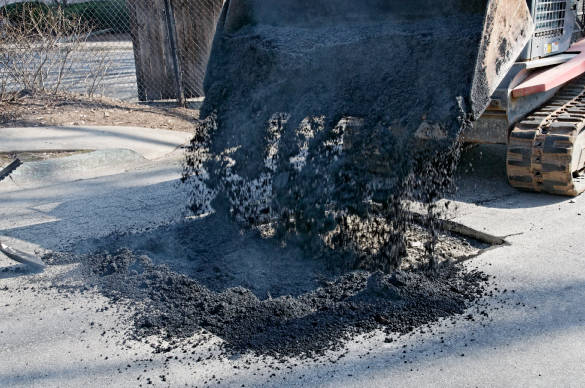
6. Spread carefully to avoid segregation of the mixture. Avoid pulling the material from the center of the patch to the edges. If more material is needed at the edge, it should be deposited there, and the excess raked away. The amount of mixture used should be sufficient to ensure that the after compaction the patch surface will not be below that of the adjacent pavement. On the other hand, if too much material is used a hump will raise.
7. Compact each lift of the patch thoroughly. Use equipment that is suited for the size of the job. A vibratory plate compactor is excellent for small jobs, while a vibratory roller is likely to be more effective for larger areas. When compacting the final lift (which may be the only lift), overlap the first pass and return of the vibratory roller or plate compactor to no more than 5 cm (6 in.) on to the patch on one side. Then move to the opposite side and repeat the process. Once this is accomplished, proceed at right angles to the compacted edges, with each pass and return overlapping a few inches on to the uncompacted mix. If there is a grade, compaction should proceed from the low side to the high side to minimize possible shoving of the mix.
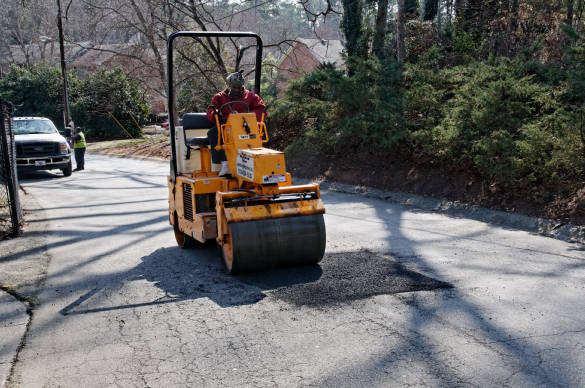
8. When adequate compaction equipment is used, the surface of the patch should be at the same elevation as the surrounding pavement. However, if hand tamping or other light compaction methods are used, the surface of the completed patch should be slightly higher than the adjacent pavement, since the patch is likely to be further compressed by traffic.
9. Check the vertical alignment and smoothness of the patch with a straightedge or string line.
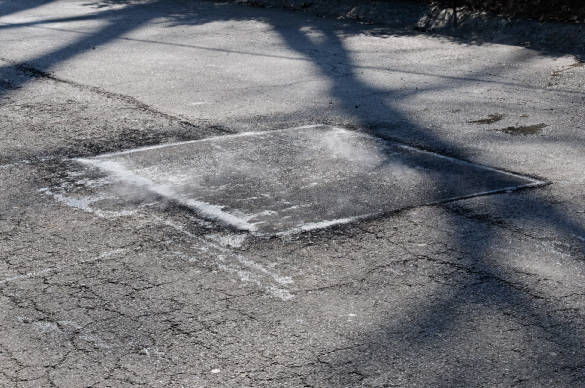
Your done. Pothole repair is not difficult, and there is equipment available to help streamline the process like infrared heating equipment and asphalt hot boxes. Best of luck!


